
Water leaks can be a homeowner’s worst nightmare, silently wreaking havoc behind walls and under floors, frequently enough going unnoticed until meaningful damage has occurred. The sound of dripping water may seem innocuous, but it can signal a larger problem waiting to escalate. In this article, we will explore ten smart tips to both prevent water leaks before they start and address them with effective repair strategies when they do arise. From routine inspections and diligent maintenance to practical DIY fixes, our guide is designed to equip homeowners with the knowledge they need to protect their property and ensure peace of mind. Join us as we dive into the essential strategies that will help you keep your home safe and water-tight for years to come.
Understanding Common Sources of Water Leaks
Water leaks can frequently enough go unnoticed until they cause significant damage to your home or property. Understanding the common sources of these leaks is crucial in preventing costly repairs and maintaining the integrity of your space. One of the most frequent culprits is the plumbing system, where age and wear can lead to broken pipes or faulty fittings. Regular inspections of these areas can definitely help identify any potential issues before they escalate.
Another significant source of water leaks is thru roofing and gutters. Over time,shingles may wear down,or debris may clog the gutters,preventing proper water drainage. This can lead to water pooling on your roof and eventually seeping through, causing leaks indoors. It’s essential to maintain your roof’s integrity and ensure that gutters are clear and functional. Additionally, the foundation of your home is susceptible to cracks and gaps that can allow groundwater to enter. These can be more challenging to spot but are equally vital to address.
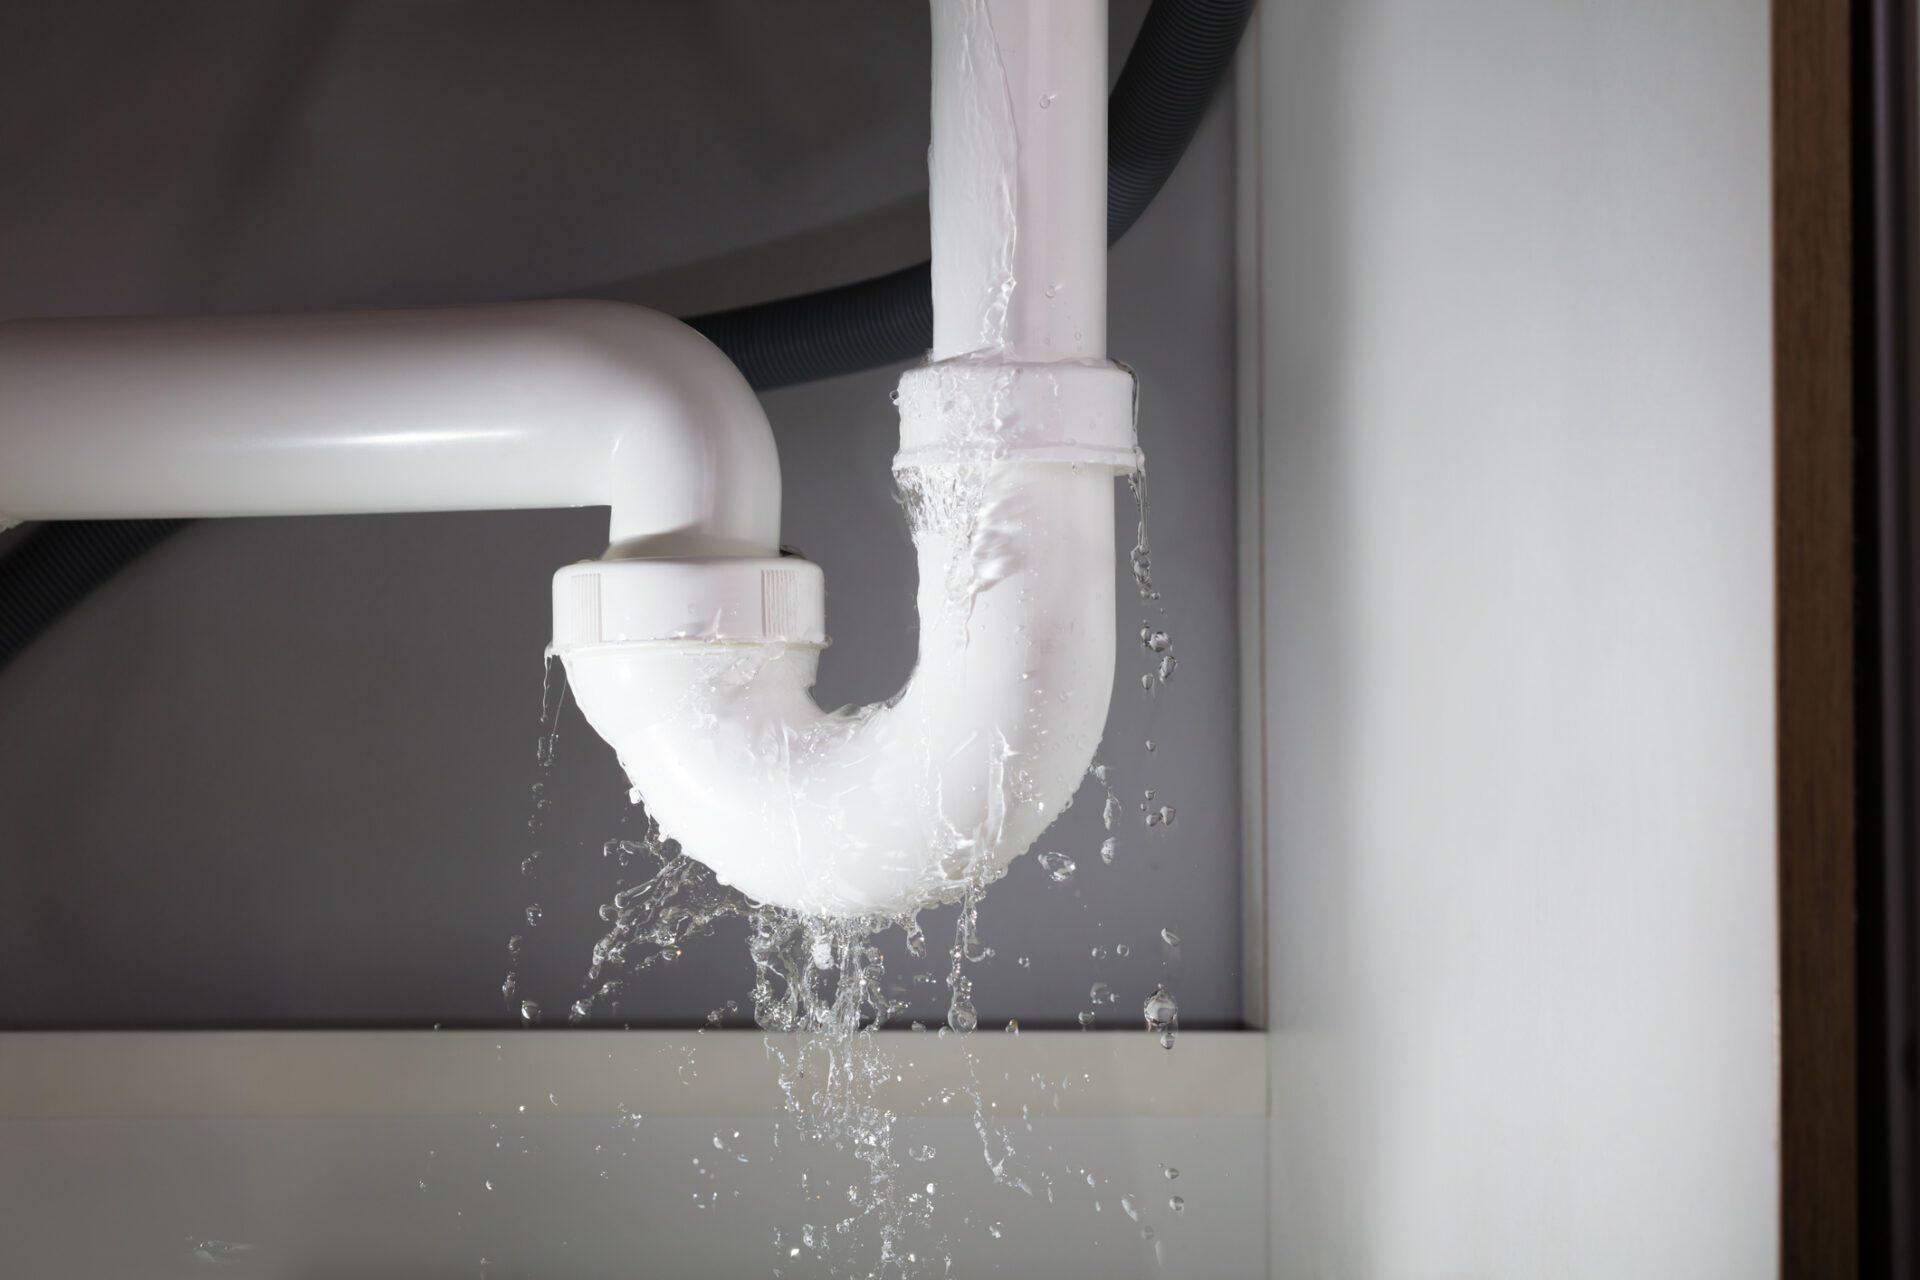
Your home’s fixtures can also be a source of leaks. Sinks, toilets, and bathtubs often have seals that wear out, leading to water escaping where it shouldn’t. A simple visual inspection can help you catch these leaks before they cause significant damage. Consider utilizing monitoring devices that can detect moisture levels and alert you to potential leaks in real-time, providing you with both preventative measures and peace of mind.
Identifying Early Signs of Water Damage
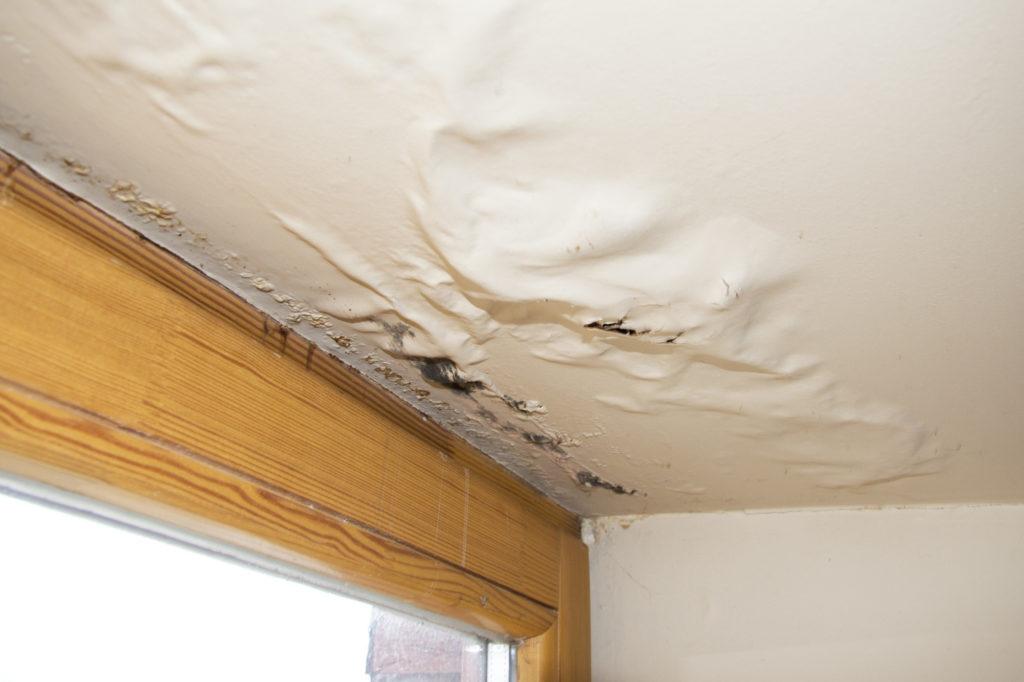
Another telltale symptom is warped or buckled flooring. This can be evident in both hardwood and laminate structures, which may begin to bend or crack if exposed to excessive water. Pay attention to mold and mildew growth as well.Musty odors or visible patches of mold can hint at moisture problems. Inspect areas prone to humidity, such as bathrooms and kitchens, where the prevalence of water can lead to unseen damage. Regular checks can help you catch these signs before they worsen.
Lastly,don’t overlook the importance of checking your plumbing fixtures and appliances regularly. Look for leaking faucets, running toilets, or pools of water around your dishwasher or washing machine. These leaks not only waste water but can also create larger problems if not addressed. Create a simple checklist for maintaining and inspecting these crucial areas.Here’s a speedy reference to ensure you’re vigilant:
| Inspection Area | Signs to Look For |
|---|---|
| Walls & Ceilings | Discoloration, peeling paint, damp spots |
| Floors | Warping, buckling, mold growth |
| Plumbing Fixtures | Leaking faucets, running toilets, water pools |
| Appliances | Hidden leaks, moisture accumulation |

Effective Prevention Strategies for Household Plumbing
Maintaining an efficient plumbing system starts with understanding potential risks and addressing them proactively. One of the first steps homeowners can take is to conduct a thorough visual inspection of all visible pipes, faucets, and fixtures. Look for signs of wear and tear,such as corrosion or mineral build-up,which can signal a forthcoming leak. Pay special attention to areas beneath sinks, near the water heater, and around appliances like dishwashers and washing machines. Consider setting a regular schedule, perhaps every season, for these inspections to keep an eye on your plumbing’s health.
Another effective strategy is to regularly test your home’s water pressure.High water pressure can lead to increased stress on pipes, which might eventually cause leaks. Invest in a water pressure gauge available at your local hardware store, and make sure adjustments can be made through your pressure-reducing valve if needed. To enhance this method, consider installing flow restrictors in showerheads and faucets to manage water usage better, which indirectly contributes to lower pressure buildup in your plumbing system.
Preventative maintenance also extends to the exterior of your home.Ensure that the landscaping slopes away from the foundation to prevent water accumulation that might seep into basement pipes. Regularly clean gutters and downspouts to avoid water overflow that damages your roof or siding. Furthermore, sealing cracks in your foundation with appropriate caulk will help alleviate excess moisture that can lead to plumbing issues. A well-maintained exterior complements your plumbing system and can drastically reduce unexpected repairs.
Tools and Techniques for Quick Leak Detection
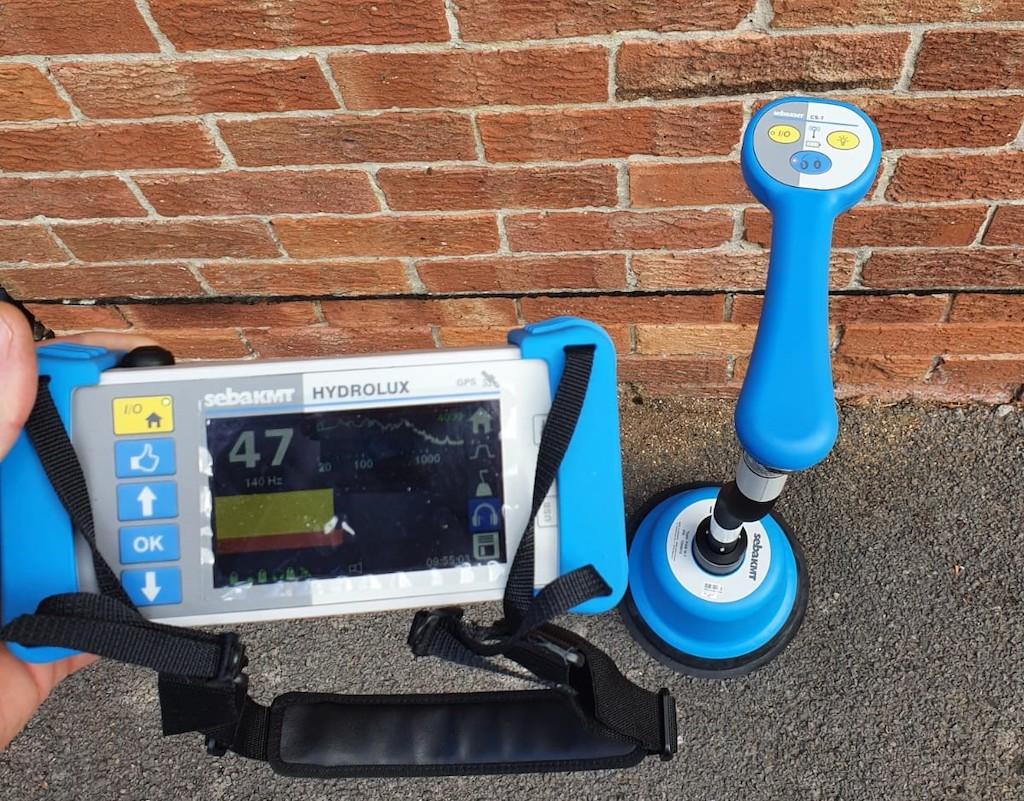
detecting leaks swiftly is crucial not only for preventing extensive water damage but also for minimizing repair costs. Several tools have simplified this process, allowing homeowners and professionals alike to stay ahead of potential issues. Moisture meters are invaluable for quickly assessing humidity levels in walls and floors, pinpointing problem areas that may not be visible to the naked eye. Another essential tool is the infrared thermographic camera, which helps identify temperature differences in surfaces, highlighting moisture intrusion without invasive methods.
When it comes to techniques for leak detection, acoustic methods stand out as particularly effective. This approach involves using ultrasonic leak detectors to listen for the sound of water escaping through plumbing. These devices can detect leaks even in noisy environments,making them suitable for both indoor and outdoor applications. Additionally, employing thermal imaging can reveal invisible leaks, such as those hidden behind tiled surfaces or within wall cavities. By analyzing heat signatures, these cameras allow for accurate diagnosis and timely repair.
For those looking for budget-amiable options, a DIY approach using everyday items can also prove effective. Simple tools like dish soap mixed with water can help expose leaks in exposed plumbing; applying the solution will reveal bubbles where leaks exist.Similarly, utilizing a water pressure gauge allows homeowners to monitor fluctuations in pressure, indicating potential leaks within the system. regularly scheduled visual inspections focused on high-risk areas—such as under sinks, around the toilet base, and near water heaters—can catch leaks early. Employing a combination of these techniques and tools ensures that leak detection remains efficient and proactive.
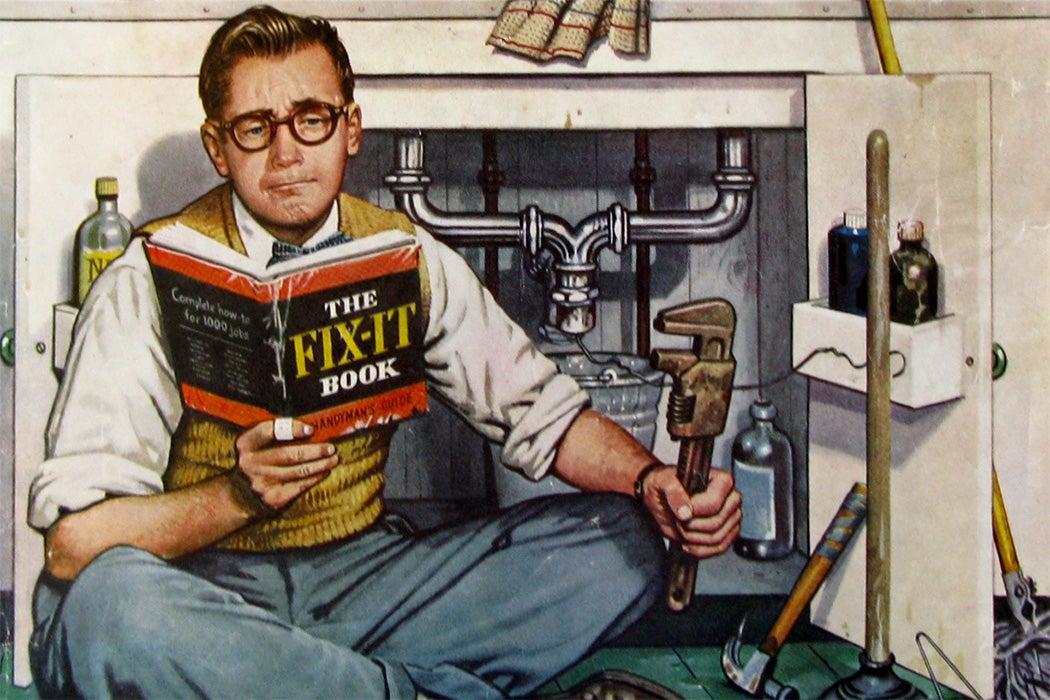
Step-by-Step Guide to DIY Repairs
Embarking on a DIY repair project can be rewarding, especially when addressing pesky water leaks. To start, gather the essential tools and materials necesary for your repairs. These may include:
- Pipe wrenches – crucial for gripping and turning pipes.
- Sealants and caulks – ideal for sealing minor leaks.
- Adjustable pliers – helpful for various pipe fittings.
- bucket or container – to catch any dripping water.
- Rags or towels – for cleaning up spills or excess water.
Now, identify the source of the leak.look for signs of moisture, such as damp patches on walls or ceilings, water stains, or even mold growth. If the leak is tied to a pipe, shut off the water supply to prevent further damage before commencing repairs.
Once you’ve pinpointed the leak, assess the damage. For small leaks in pipes, consider applying a sealant to the affected area. Clean the surface thoroughly to ensure a strong bond, then apply the sealant as directed. If the damage is more significant, you might need to replace a section of pipe. Cut out the damaged segment carefully and install the new piece, ensuring it fits snugly and is secured with appropriate connectors. Remember to turn the water supply back on gradually to check for any additional leaks.
If you encounter leaks around fixtures such as faucets or toilets, disassemble the unit to inspect the washers and O-rings, which may need replacement. Here’s a quick reference table to help you identify common fixtures and their repair components:
| Fixture Type | Common Repair Parts |
|---|---|
| Faucets | Washers, O-rings, Cartridge |
| Toilets | Flapper, Fill Valve, Tank-to-Bowl Gasket |
| Pipes | Couplings, Elbows, Tees |
When to Call in the Professionals for Water Leak Issues
Determining when to seek help from professionals for water leak issues can be challenging.While some minor leaks can be managed with DIY repair techniques, others may signal more significant problems that require expert attention.Signs that indicate the necessity for professional intervention include:
- Significant water damage: If you notice major water stains on walls or ceilings, warped flooring, or mold growth, it’s time to call in the experts.
- Increased water bills: A sudden spike in your water bill without an obvious cause may suggest a hidden leak somewhere in your plumbing system.
- unexplained dampness: Persistent damp smells or wet spots in unexpected areas can indicate plumbing issues that require professional diagnostics.
When facing plumbing issues that are beyond your capabilities, consider the type of professionals you might need to engage. Plumbers are essential for general leaks and repairs, while specialists in waterproofing might potentially be necessary for ongoing moisture issues in basements or foundations.In cases of severe water damage, restoration companies can provide not only repairs but also full restoration services. Below is a simple comparison of these professionals:
| Type of professional | When to Call | Typical Services Offered |
|---|---|---|
| Plumber | for general leaks,pipe replacements,or when water pressure is affected. | Leak repair, pipe installation, clog clearing, and system inspections. |
| Waterproofing Specialist | When dealing with persistent leaks or water ingress in basements. | Foundation sealing, water diversion systems, and damp proofing treatments. |
| Restoration Company | After major water damage incidents, such as flooding. | Water extraction, damage repair, mold remediation, and restoration of affected areas. |
Timing is crucial when it comes to addressing water leaks.Delaying intervention can lead to extensive damage, costly repairs, and potential health risks related to mold growth. Watch for these factors to decide if it’s time for professional assistance:
- Ongoing leak detection: If your attempts to fix leaks are unsuccessful and the problem persists without resolution.
- Structural concerns: Changes in the integrity of your walls or ceiling could suggest critical plumbing issues that need immediate attention.
- Health risks: Mold and mildew are not just unpleasant—they can be dangerous. If mold appears or respiratory issues arise, reach out for professional help.
Q&A
Q&A: 10 Smart Tips to Prevent and Repair Water Leaks
Q1: Why is it important to prevent water leaks in my home?
A1: Preventing water leaks is crucial because they can lead to significant damage, mold growth, and costly repairs. A small leak can escalate into a big problem if not addressed, impacting not just your property but also your health and finances.
Q2: What are the most common signs of a water leak?
A2: Look out for water stains on walls or ceilings, moldy odors, a sudden increase in your water bill, dripping sounds, or moisture on floors. These signs can indicate an underlying leak that requires immediate attention.
Q3: How can I inspect my home for potential leaks?
A3: Start by checking your plumbing fixtures (like sinks and toilets) for any signs of water pooling. Next, inspect walls and ceilings for stains. Additionally, you can turn off all water sources and check your water metre; if the dial still moves, you likely have a leak.
Q4: Are there preventative measures I can take to avoid water leaks?
A4: Absolutely! Regularly inspect and maintain your plumbing, insulate pipes to prevent freezing, and install water leak detectors near potential problem areas. Also, be mindful of where you plant trees and shrubs; roots can invade plumbing lines.
Q5: What should I do if I find a leak during my inspection?
A5: For small leaks, you can often fix them with repair tape or a pipe clamp.For more significant issues, such as burst pipes, it’s essential to turn off the main water supply and contact a professional plumber to handle the repairs safely.
Q6: Can I use any household tools to fix minor leaks?
A6: Yes! Depending on the type of leak, you might need a wrench, plumber’s tape, or sealant. Always ensure you have the right tools on hand before attempting a repair.Just remember, if you’re unsure, it’s wise to consult with a professional.
Q7: How can I prevent leaks in my appliances, like washing machines or dishwashers?
A7: Regularly inspect the hoses for signs of bulging or wear. Replace old or cracked hoses every few years, ensure the connections are tight, and consider using a water leak detector or shut-off valve that automatically turns off water if a leak is detected.
Q8: What are some common causes of leaks I should be aware of?
A8: Common causes include corrosion in old pipes, improper installations, harsh weather conditions, and natural wear and tear on fixtures and appliances. Keeping an eye on these can help catch problems before they escalate.
Q9: is there an effective way to manage leaks in the long term?
A9: Yes! Schedule annual plumbing inspections with a licensed plumber.They can identify potential weak points in your plumbing system, recommend upgrades, and catch issues early, helping you save money and headaches down the line.
Q10: how can technology help in leak detection and prevention?
A10: Smart home devices like leak detection sensors can alert you to moisture or leaks instantly. These gadgets can send notifications to your smartphone and even automatically shut off the water supply, providing peace of mind and potentially preventing extensive damage.
In Summary
As we wrap up our exploration of the essential strategies for preventing and repairing water leaks, it’s clear that a proactive approach can save both your home and your wallet from potential damage. By incorporating these ten smart tips into your routine, you can create a protective barrier against unwanted moisture and the complications that come with it. Remember, the key lies not only in swift repairs but also in vigilant prevention. Whether you’re sealing cracks, maintaining your plumbing, or simply staying observant, each small step contributes to a more resilient and secure living environment.So arm yourself with knowledge, stay ahead of the drip, and embrace a worry-free future free from the threats of water leakage. Your home—and your peace of mind—will thank you.